MENU
HEY GUYS! WHAT'S UP?
I’m A BEAUTY + LIFESTYLE CONTENT CREATOR, WITH OVER 10 YEARS IN THIS INDUSTRY, known for MY transparency, relatability, & slightly sarcastic sense of humor.
340K
FOLLOWERS
FOLLOW THE JOURNEY OF PERFECTING MY DREAM HOME!
@RAVENSDREAMHOME
JOIN THE
SQUAD
BE THE FIRST TO GET THE DEETS ON:
LATEST VIDEOS
BLOG POSTS
SHOP FAVORITES
NEW PODCAST!
After finally completing my walk-in pantry, my mom asked for some help organizing her 2.5×2 ft storage space. Small pantry and storage areas can sometimes be hard to organize, so I wanted to give you guys a few solutions to some of the common problems with a small pantry and some tips on organizing your space like a pro.
The Problem: My pantry is too small; I need more storage space.
The Solution:
· My mom installed these Elfa shelves from the container store in her pantry. They are customizable to easily fit your space and you can adjust them to create the maximum amount of storage to fit your needs.
· Adding an extra storage unit on the door is a great way to gain some additional space in a small pantry. My mom purchased this storage system from The Container Store; it came with 1 small, 3 medium, and 2 large metal baskets that easily hook onto the railing once its installed.
Watch the entire process!
· Stackable storage drawers are a great way to get the most use out of the typically empty space under your shelves. My mom used her drawers to keep onions and potatoes, plastic shopping bags and trash bags, and aluminum foil/plastic wrap.
· Clean out your entire pantry every few months. Be sure to clear out any expired or unused items so that they are not taking up any extra space.
The Problem: I end up throwing out expired food or buying duplicates because I didn’t know I already had them.

The Solution:
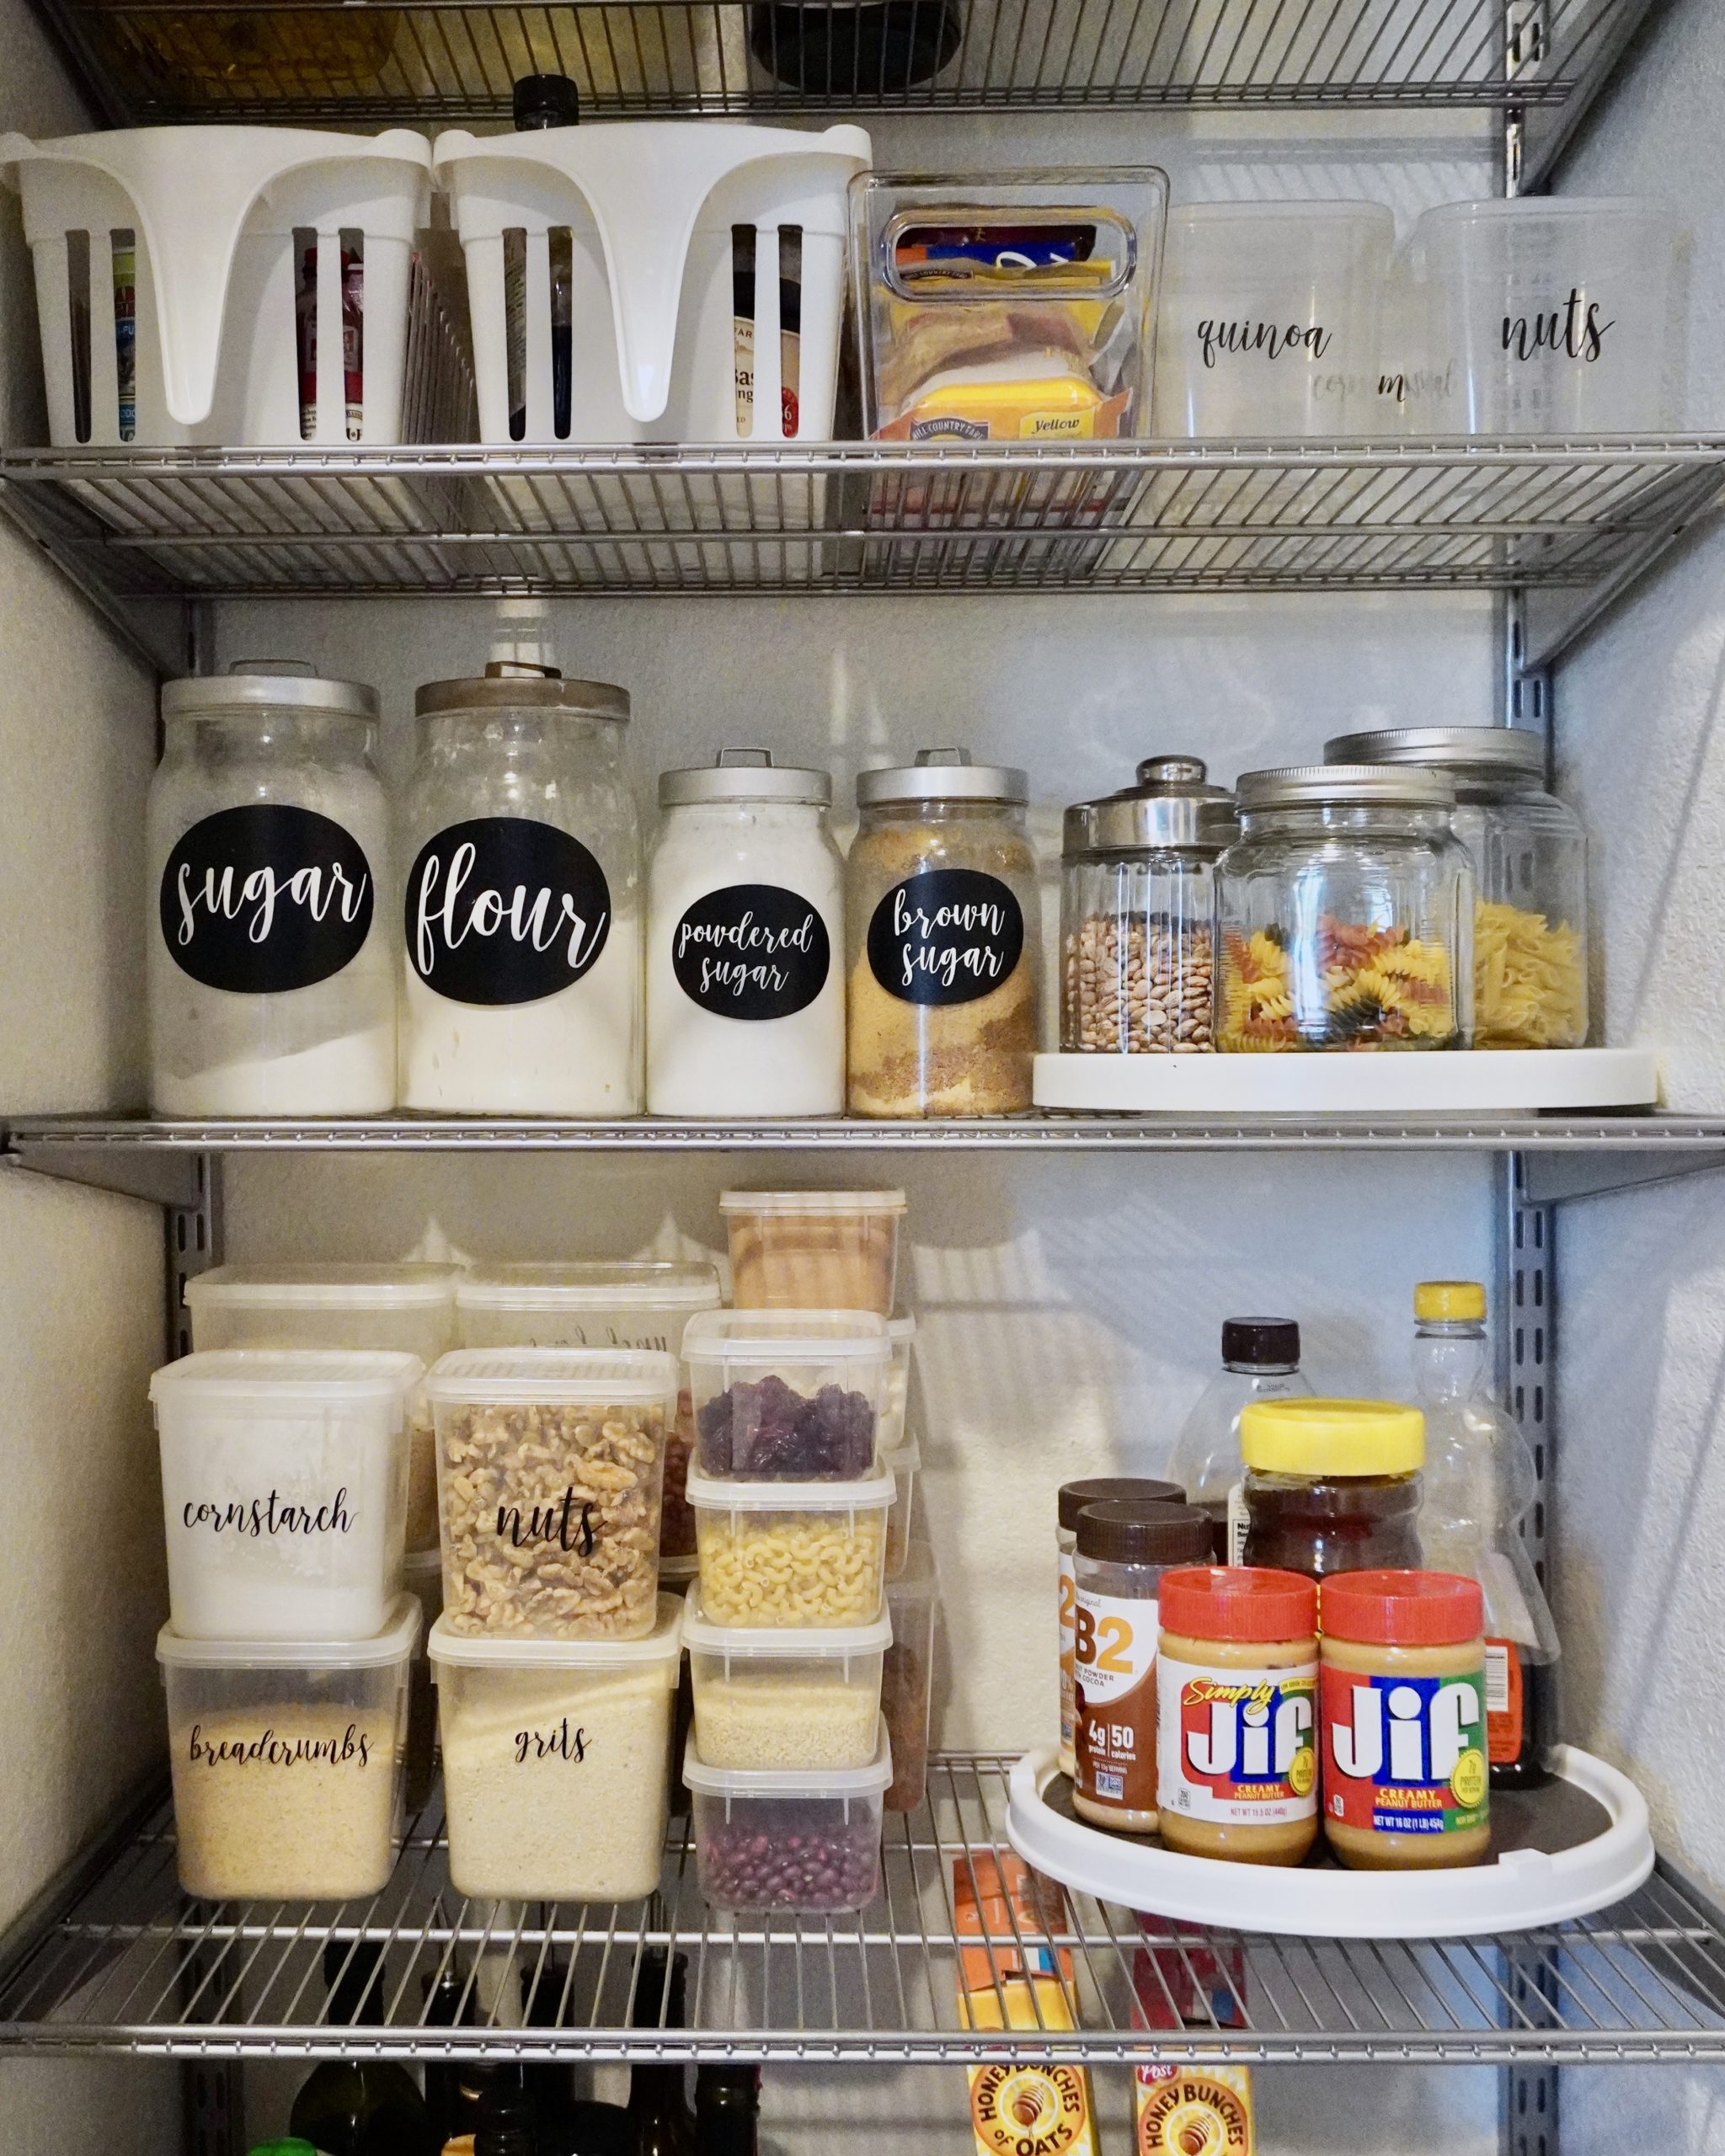
· A lazy susan rotates so that you can see everything and prevents things from being stacked in front of each other. These are really helpful for canned goods and bottled items that would normally be clustered all over the shelves.
· My mom decided to store her extra “backup” items in one of her new door baskets. This way, she’ll be able to see what she has left and won’t buy any more unless it runs out.
· Keep items fresh by getting rid of their original packaging and storing them in airtight containers. This works extremely well for items like dried fruit, nuts, pasta, flour, rice, and any boxed items that won’t close back up. (TIP: Cut out the cooking instructions/recipes from the cardboard box and place them inside the new container so that you’ll have it handy when you need it.)
The Problem: My small pantry looks cluttered and jumbled.
The Solution:
· For an aesthetic “Pinterest-y” look and to save space, transfer powdered items (like flour and sugar), rice, and pasta into glass jars.
· Store like items together in organizer bins to make the shelves look neater.
· “Hide” bulky items or things that need to stay in its original packaging in these cute woven baskets. This will make it look cleaner and less junky.
· Removing food from its original packaging and storing it in a labeled container will help your space look neater and more organized. They’re also stackable, which creates more space and makes it look less cluttered.
The Problem: I can’t find what I need.
The Solution:
· Prioritize things that you use most often and keep them easily in reach. Store lesser used items towards the back of the shelves.
· Separate everything into categories and keep items in the same category together.
· Label your containers and drawers so that you know what’s inside. This makes it easier to store things properly and to find what you’re looking for.
My mom really wanted to reorganize everything in her pantry and make it easier to find things. You can reorganize and declutter your pantry in a few easy steps:
Step One: Clear everything out
· Throw out any expired/old food
· Clean the shelves and vacuum out the inside
· Wipe down any bottles, containers, and trays that might be sticky or may have dust
Step Two: Categorize items into groups
Create categories of your items to make it easier to organize. Categories can include canned goods, things that need to be refrigerated after opening, oils and vinegars, baking items, drinks, boxed items, pasta, and rice.
Step Three: Map out your space
Make sure you know where you want everything to go. Doing this step before putting anything back will make sure everything fits and that there is space for the things you always have in your pantry.
Step Four: Label your containers
My mom loves using her Cricut machine to create her labels. You can also use a smaller version that is perfect for just making labels. Our favorite font is Malisia Script and can be found here.
I also love using these bin labels for any baskets or boxes. You can use chalk to write on them or you can create labels and stick them on directly.
Step Five: Put everything away
Fill your containers and put them in their designated areas.
My mom was really happy with how her pantry turned out. After following the steps and tips above, she is able to see everything in her small pantry and knows exactly where everything is. For more organization tips and videos, click here. I’m always looking to post more, so stay tuned!
This post may contain affiliate links. If you make a purchase through an affiliate link I may receive a small commission.

I'D LOVE TO HEAR FROM YOU!