MENU
HEY GUYS! WHAT'S UP?
I’m A BEAUTY + LIFESTYLE CONTENT CREATOR, WITH OVER 10 YEARS IN THIS INDUSTRY, known for MY transparency, relatability, & slightly sarcastic sense of humor.
340K
FOLLOWERS
FOLLOW THE JOURNEY OF PERFECTING MY DREAM HOME!
@RAVENSDREAMHOME
JOIN THE
SQUAD
BE THE FIRST TO GET THE DEETS ON:
LATEST VIDEOS
BLOG POSTS
SHOP FAVORITES
NEW PODCAST!
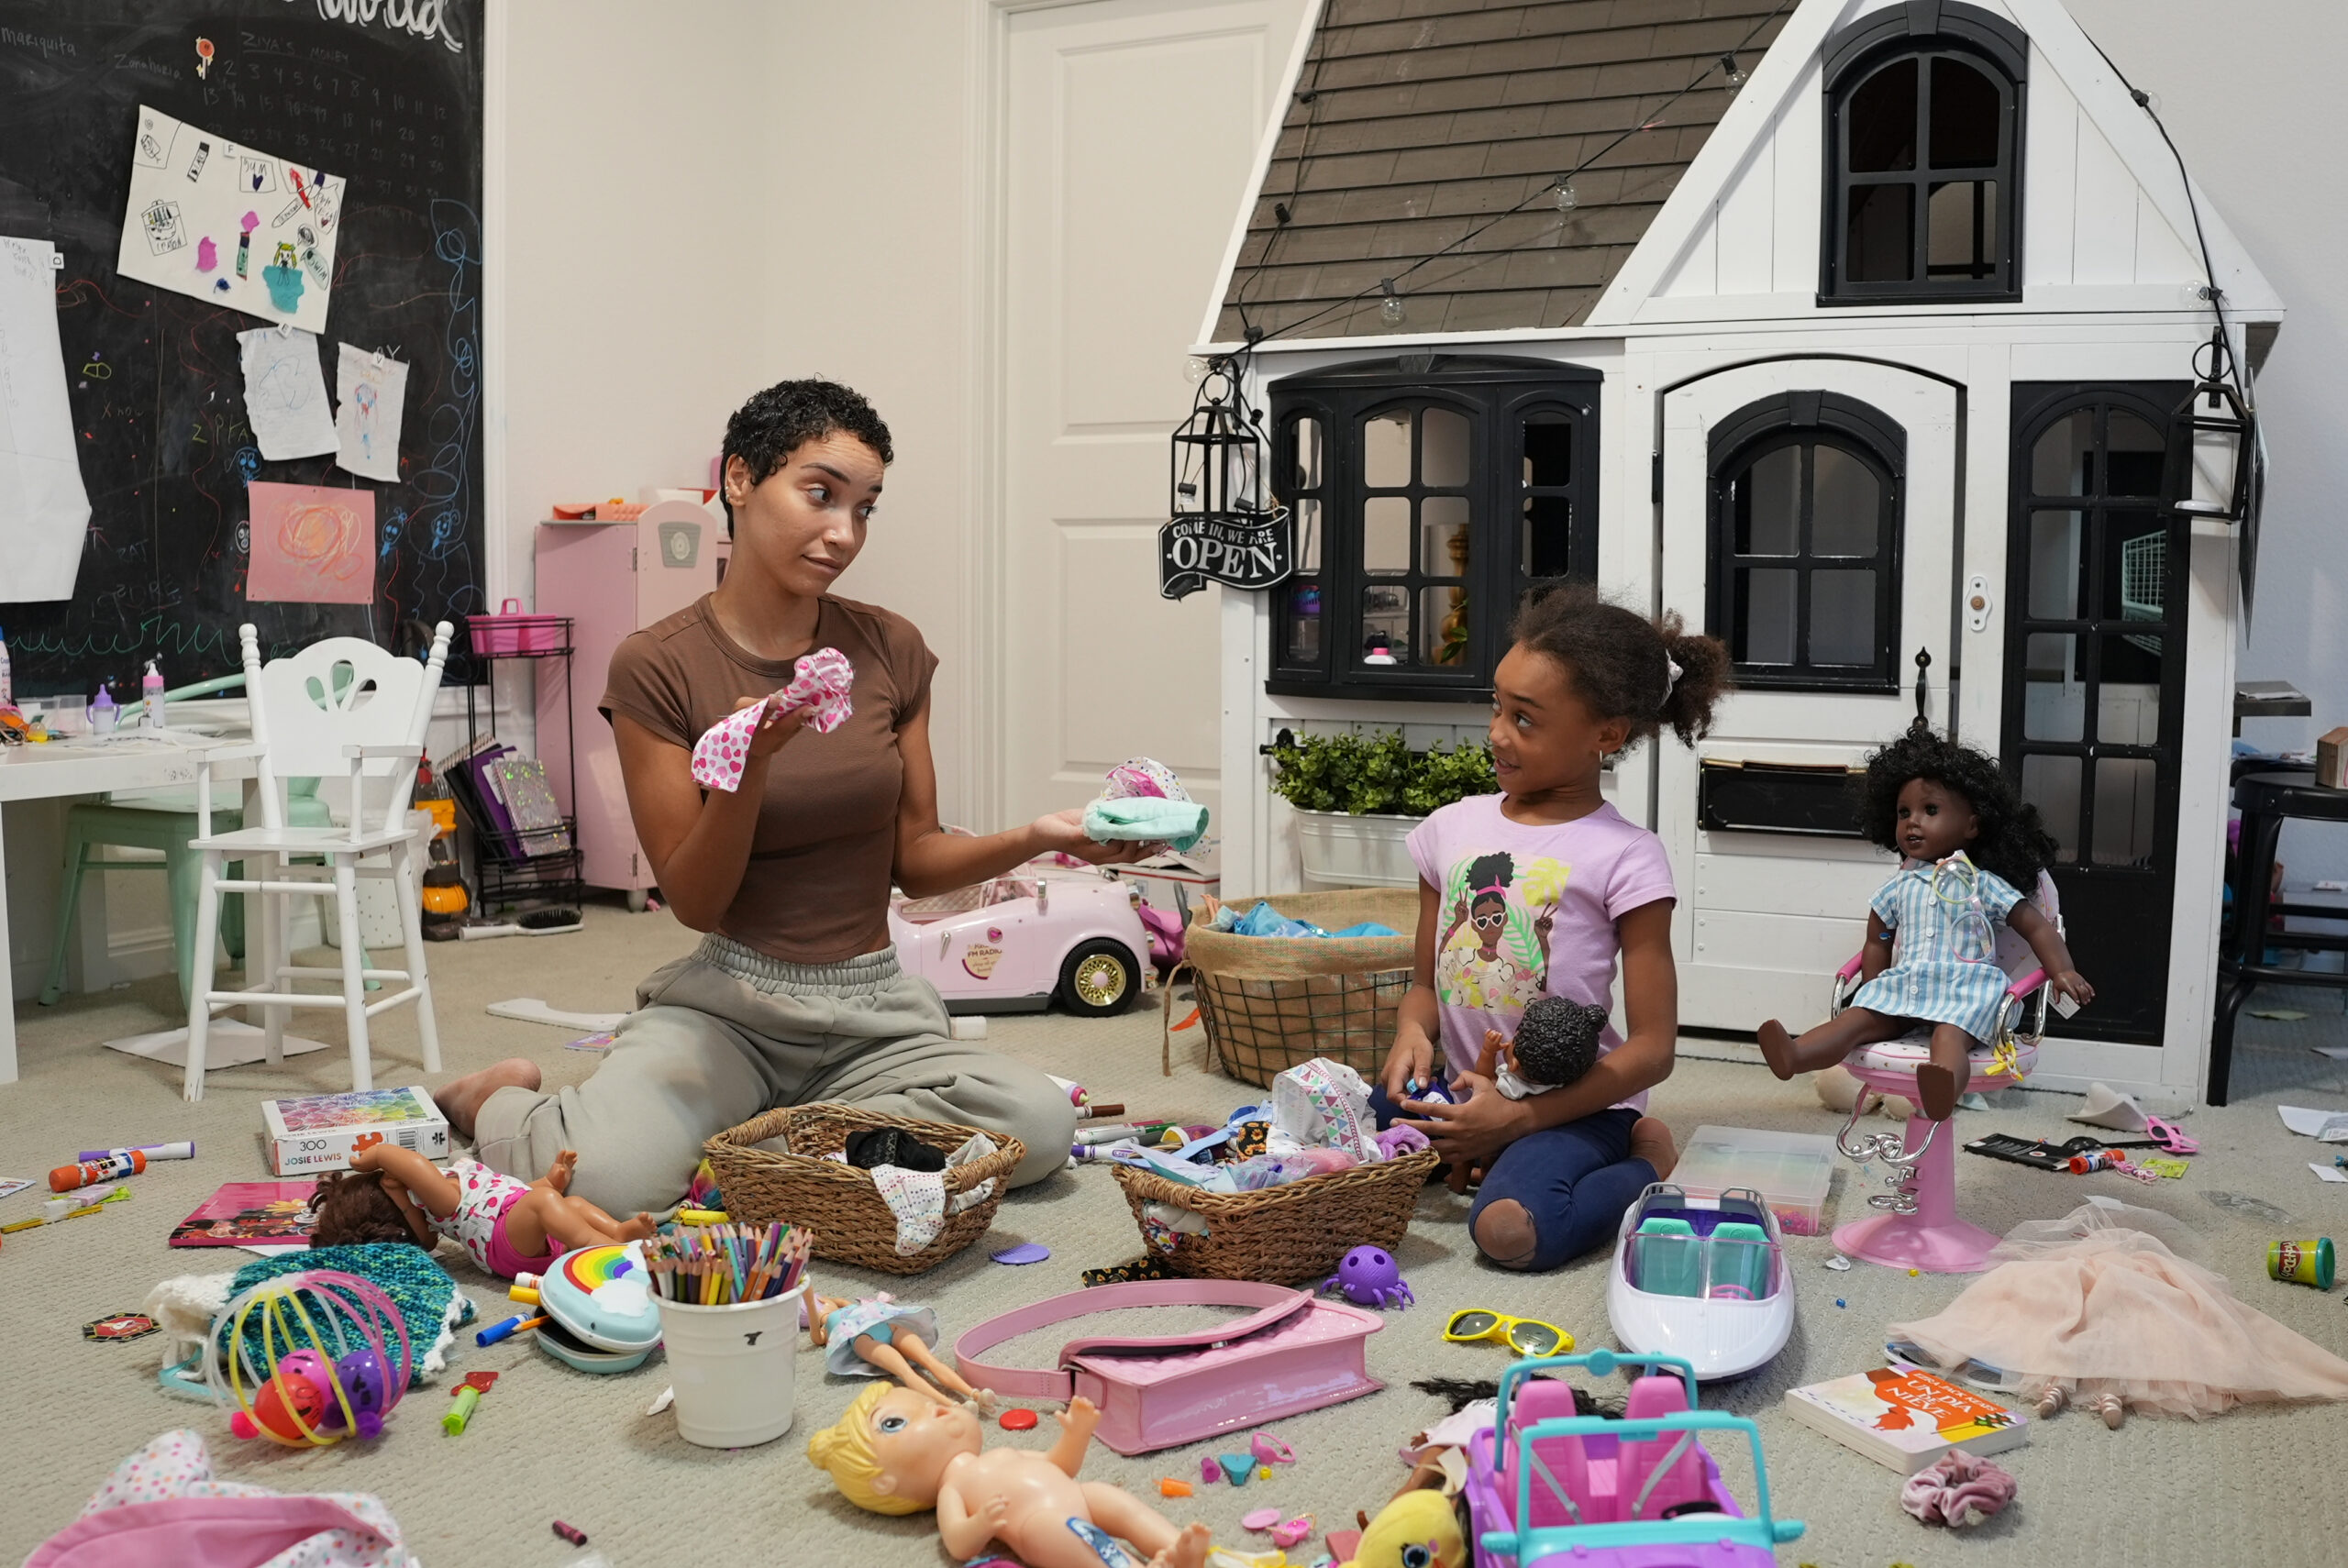
I transformed a plain and somewhat messy room into a fun, vibrant playroom for my daughter, Ziya. Come along for the ride as we get into this ambitious project, taking it one step at a time. This project had plenty of the journey ahead, filled with twists, turns, and loads of inspiration. Get the full story! Watch the videos here:

In a previous YouTube video, I talked about our mission to revamp Ziya’s playroom. Overflowing with toys and super plain, it was high time to give this room some personality. I was a little bit nervous about this project, but I was determined to create something that both me and Ziya would love.
First we had to clear out the clutter. Ziya has SO many toys and she loves craft projects, but this was just too much. I got Ziya to help by deciding which toys stayed and which ones were ready for a new home. This took a couple of days to get through, but it was a necessary step in this makeover.
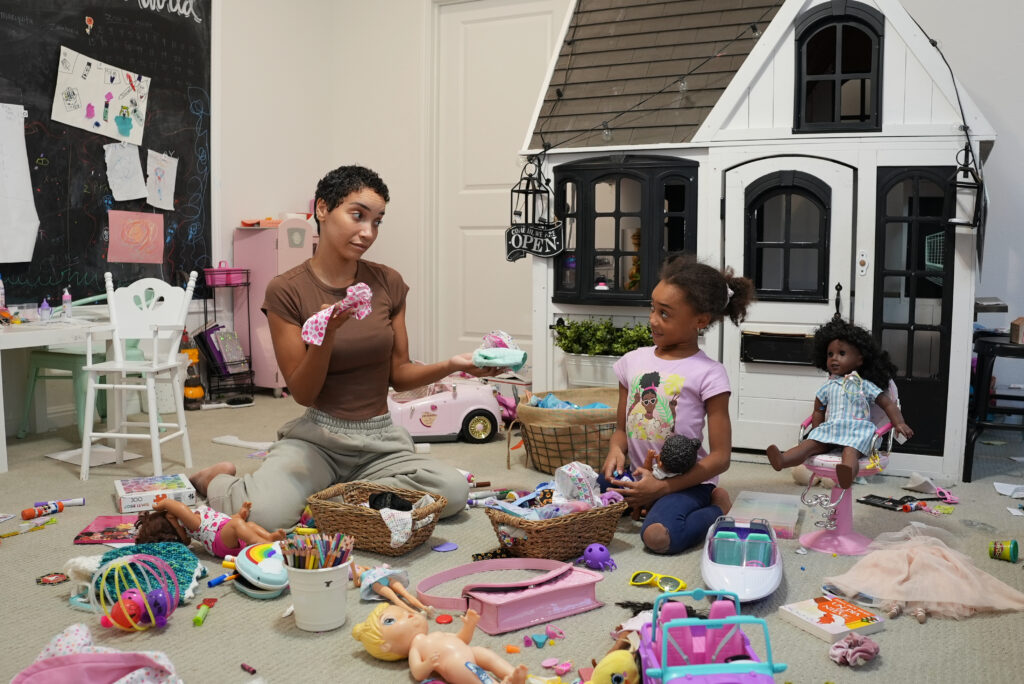
And as far as the design was concerned, Ziya was excited about the makeover, but balancing her creative ideas with practicality was key. Rainbow polka dots? Maybe not. Compromise became the name of the game as we navigated through design decisions.
The IKEA Billy Bookcase hack was at the top of our to-do list, and I was very excited to take it on, but let me tell you, even after watching literally dozens of YouTube videos about how to tackle this project, I wasn’t prepared for how time consuming and intense this project turned out to be. Plus, using power tools and saws was uncharted territory for me. Despite the apprehension, I was ready to take on the challenge.
The IKEA deliveries started rolling in — boxes upon boxes! And then came the moment of truth – assembling the IKEA pieces. Little did I know, this was just the calm before the storm.
But hey, we weren’t just settling for standard IKEA bookcase. No, we were on a mission to elevate it to custom-built perfection. Enter the DIY extensions and intricate arch details – challenges that tested our skills but added that touch of luxury and customization I was aiming for.
This project wasn’t without its hiccups – outlet obstacles, thermostat peek-a-boos, and endless trips to Home Depot. But armed with determination and a newfound appreciation for power tools, we pushed through.
The painting process brought its own set of challenges, especially with high gloss paint throwing us a curveball. Sanding, priming, painting – and sanding some more…it was a labor of love that tested our patience but ultimately paid off.
And let’s not forget the MVPs of this project – my amazing support system. From family members to friends, their willingness to pitch in made this dream a reality. Shoutout to each and every one of them!
As we put the finishing touches on the cabinets and hung the doors (which turned out to be a marathon in itself), a sense of accomplishment washed over us. Sure, there were imperfections, but they were a testament to the journey we had embarked on.
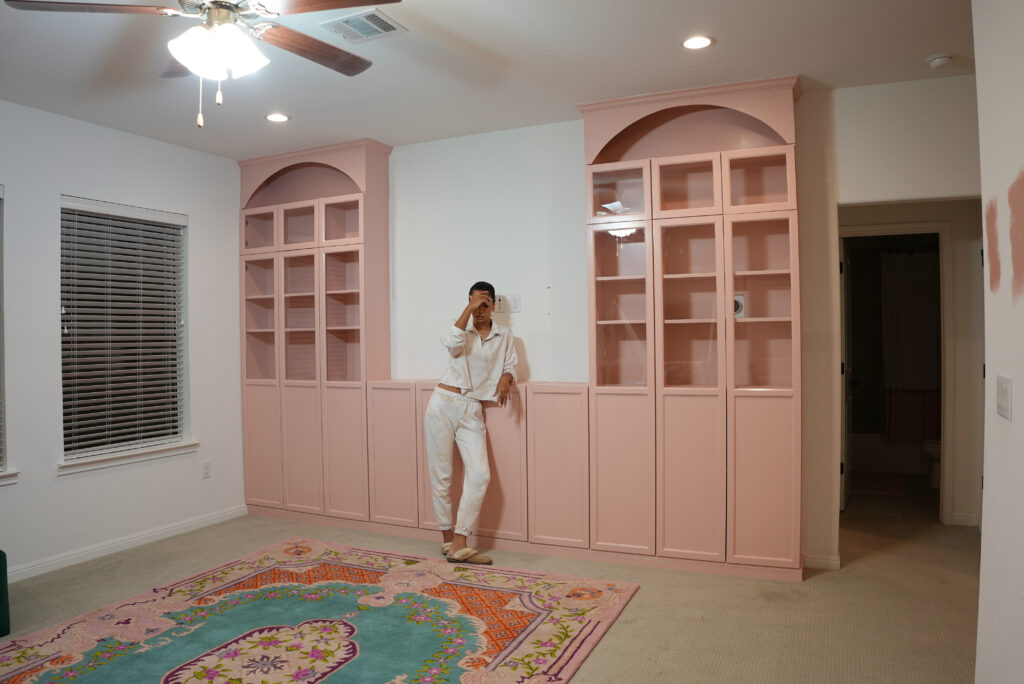
Finally, we were ready to paint, hang curtains and add the accessories that gave this room its own maximalist personality.
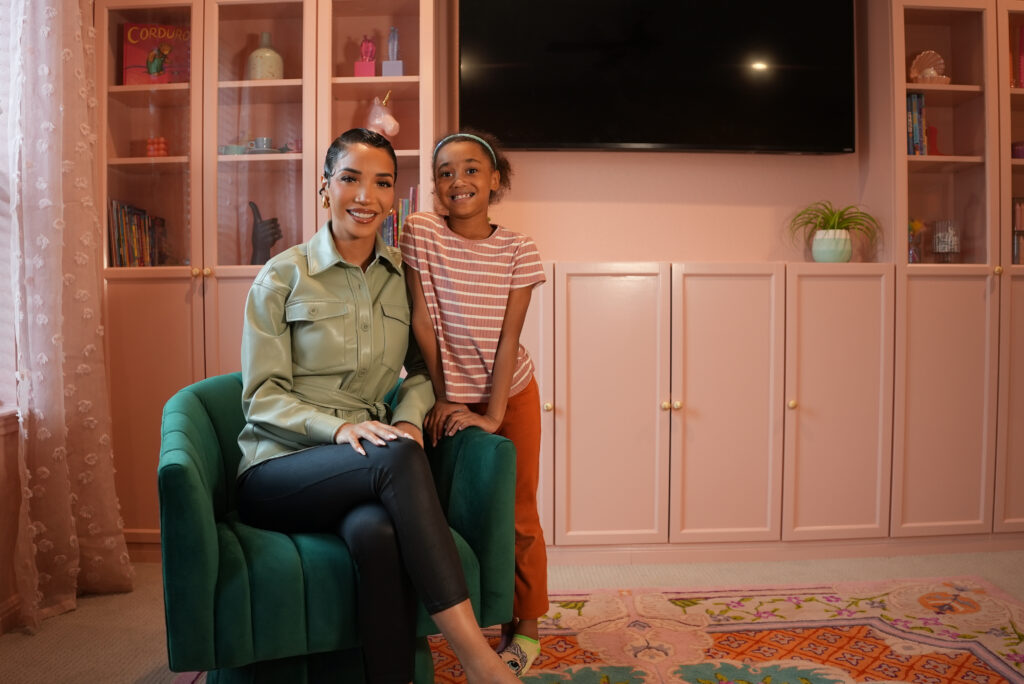
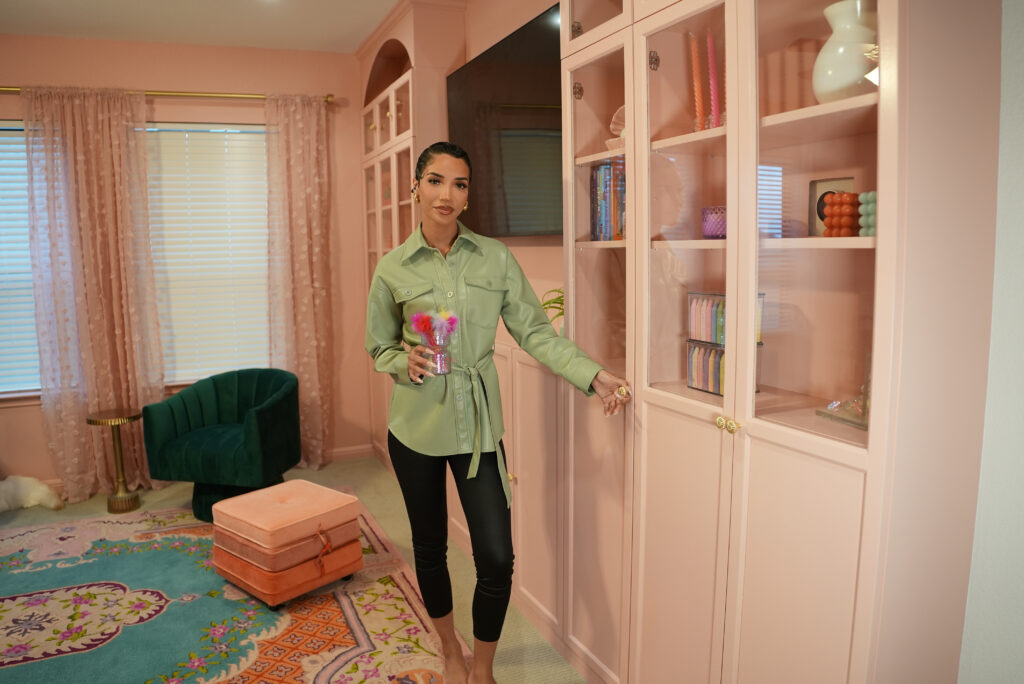
So, where do we stand now? With a playroom that’s bursting with personality and a daughter who couldn’t be happier. Sure, the road was long and the challenges were many, but it was all worth it in the end.
I'D LOVE TO HEAR FROM YOU!