MENU
HEY GUYS! WHAT'S UP?
I’m A BEAUTY + LIFESTYLE CONTENT CREATOR, WITH OVER 10 YEARS IN THIS INDUSTRY, known for MY transparency, relatability, & slightly sarcastic sense of humor.
340K
FOLLOWERS
FOLLOW THE JOURNEY OF PERFECTING MY DREAM HOME!
@RAVENSDREAMHOME
JOIN THE
SQUAD
BE THE FIRST TO GET THE DEETS ON:
LATEST VIDEOS
BLOG POSTS
SHOP FAVORITES
NEW PODCAST!
My secret DIY weapon lately has been my Cricut machine. I’ve used it all across my recent projects, and though I’m no expert, I thought I’d share with you one of the latest techniques I’ve learned–cutting chipboard!
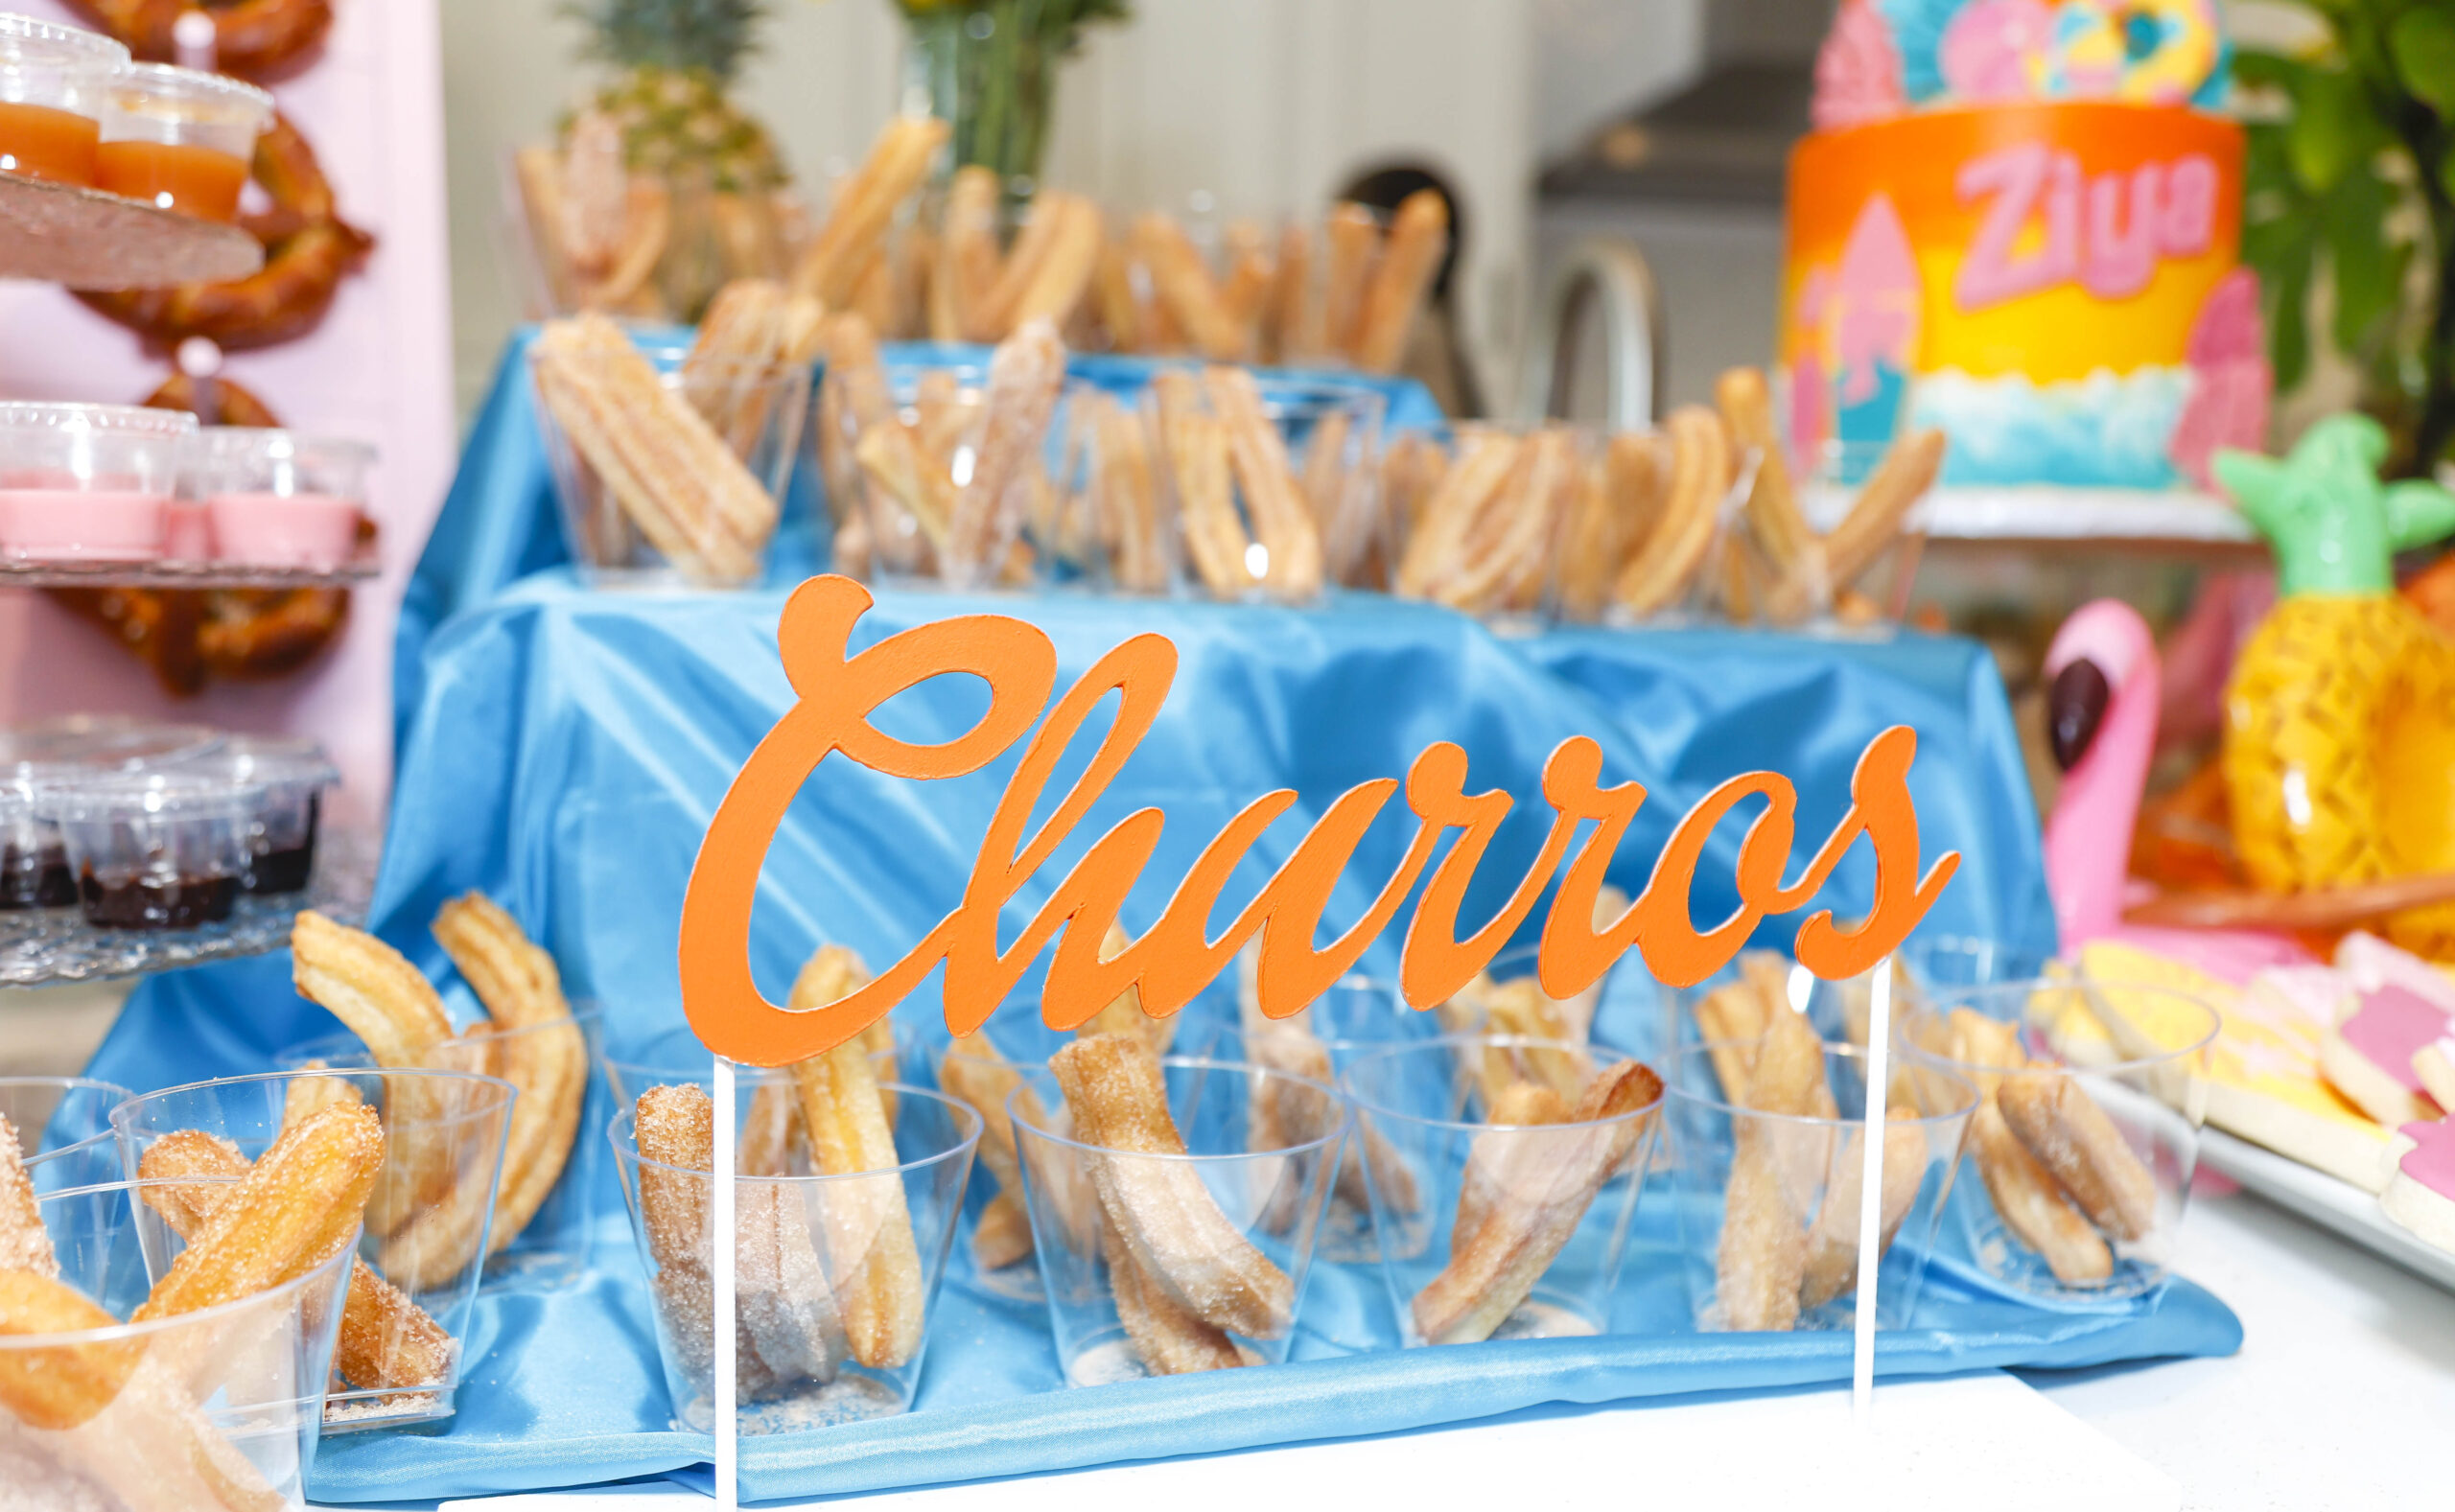
I should let you know this was my mom’s idea (AKA Chef Toni). She’s our resident Cricut master, and is always pushing the team to try new things. For this project, she also did a lot of the hard work trouble-shooting the design and working out kinks with the chipboard. As you can see, her work really paid off! I’m so thankful to have this detail for my refreshment table.
Creating the Chipboard
- Create the Design
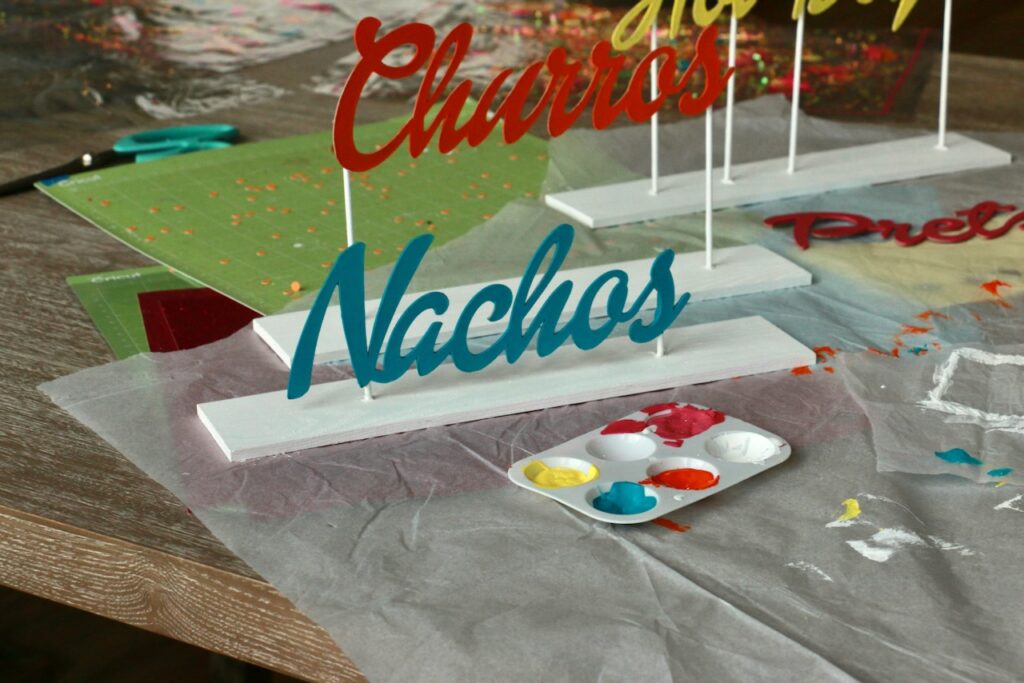
I designed each of the signs myself in the Cricut Design Space using the free Dolly Font. When designing your signs, make sure all of the letters touch. This can be a little tricky. For instance, the ‘N’ shape in ‘Nachos’ did not link to the rest of the word. To fix this, I manually added a crescent shape to link the letters together.
- All Aboard!
Once you’ve finalized your design, place your chipboard in the center of your strong grip Cricut mat, and secure all four edges with masking tape. Slide the star wheels to the edge of the mat. These are the four white wheels on the roller of the Cricut machine. BE WARNED! If you don’t do this, the star wheels will create an indention on your design. It’s not extremely noticeable, but it’s not ideal either…
- Cut-It-Out
In Cricut Design Space, set your material to chipboard 1.5mm and cut your design. NOTE: Because of the thickness of the chipboard, the Cricut must make several passes to fully cut the design. This means each word may take about an hour to cut, depending on how complex the design is. Once your cut is complete, remove the chipboard from the mat and gently push the word out of the larger piece of wood.
Assembling the Sign
- Mark and Cut
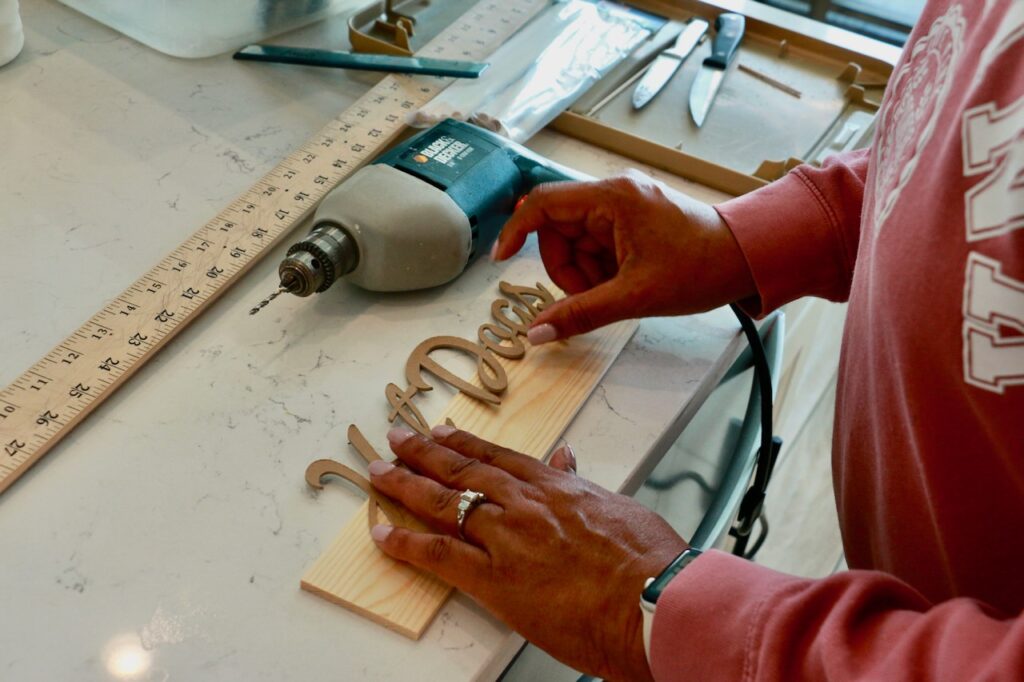
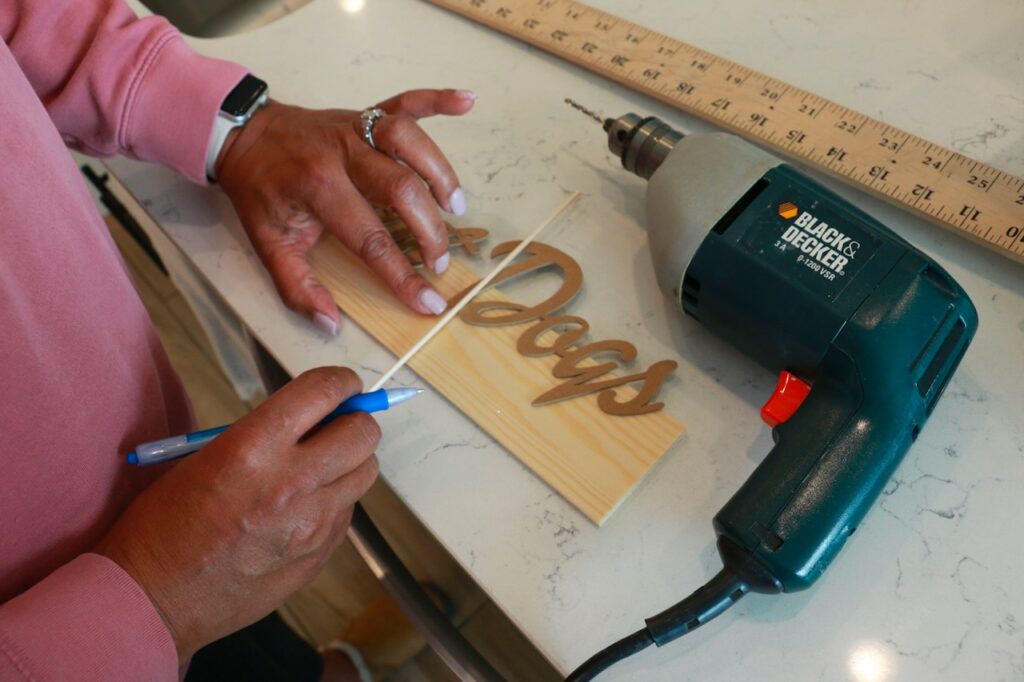
Take your chipboard word and lay it in the center of the 12×2 piece of wood. Place your dowels against the chipboard, and determine their placement. Ideally, the dowels will be hidden behind part of a letter. Mark the dowel placement on both the chipboard and the piece of wood. Cut your dowels to your desired height. I don’t suggest your dowels be any taller than 6 inches, but feel free to make them as short as you’d like.
- Attach
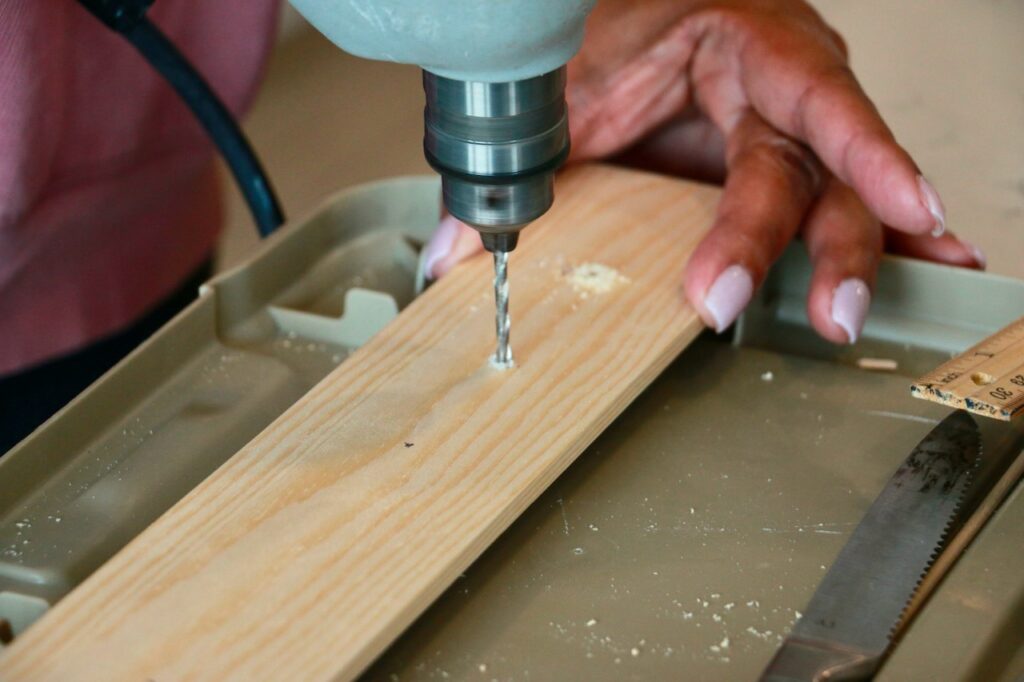
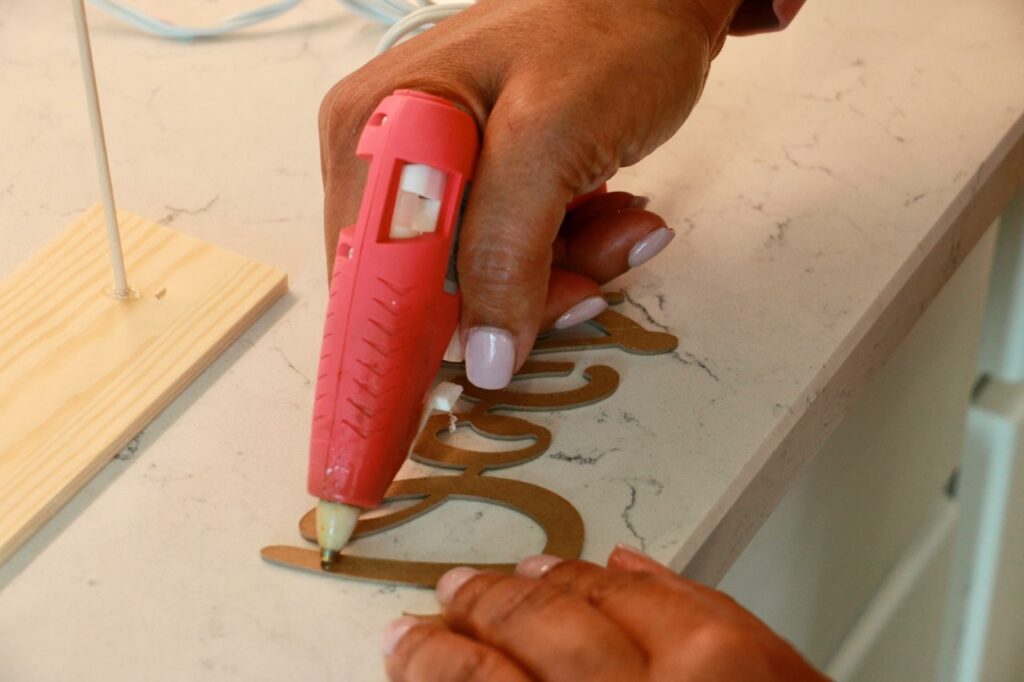
Using your drill and drill bit, drill holes through the marks you created in the piece of wood. Place the dowels in the holes and secure them to the piece of wood with your glue gun. Then, place a few dots of glue to the back of your chipboard word and secure it to the dowels. This step is deceptively tricky; Do your best to make sure the word is leveled horizontally.
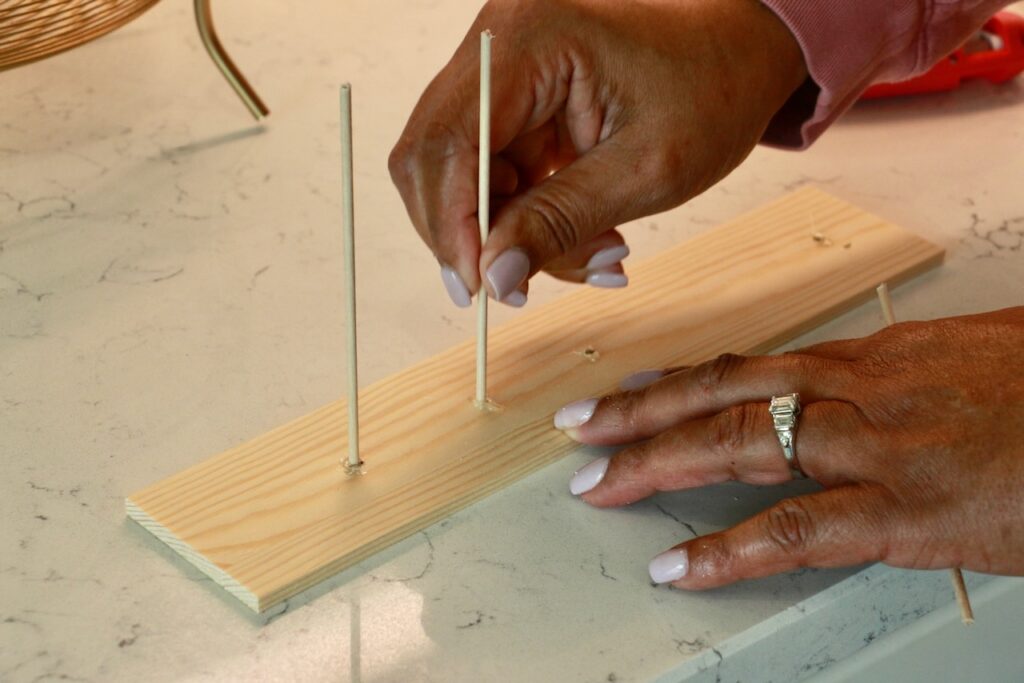
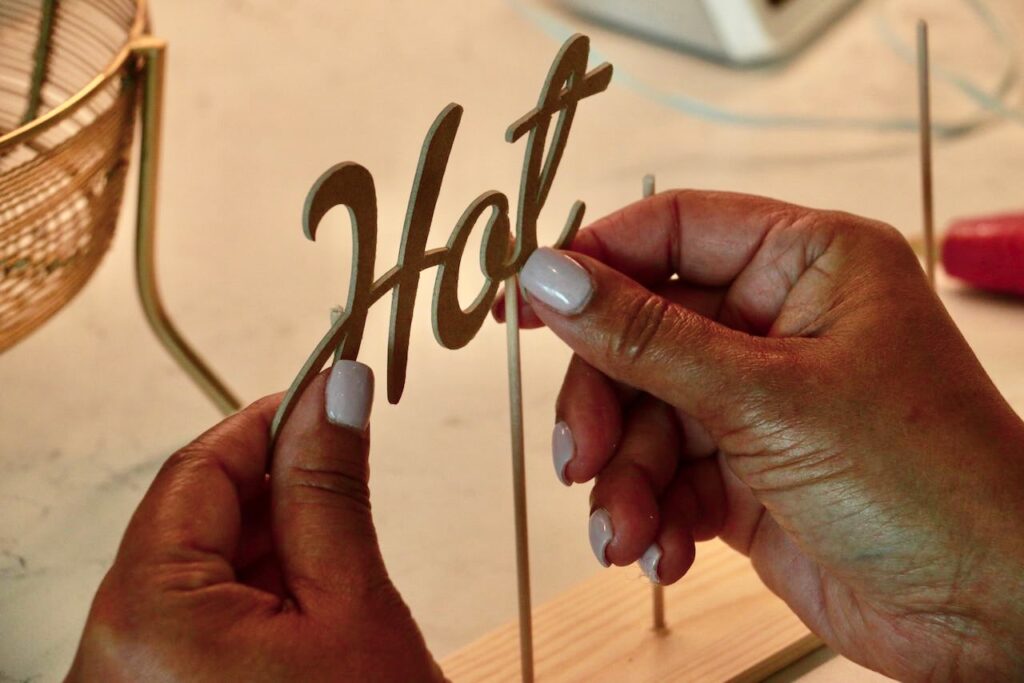
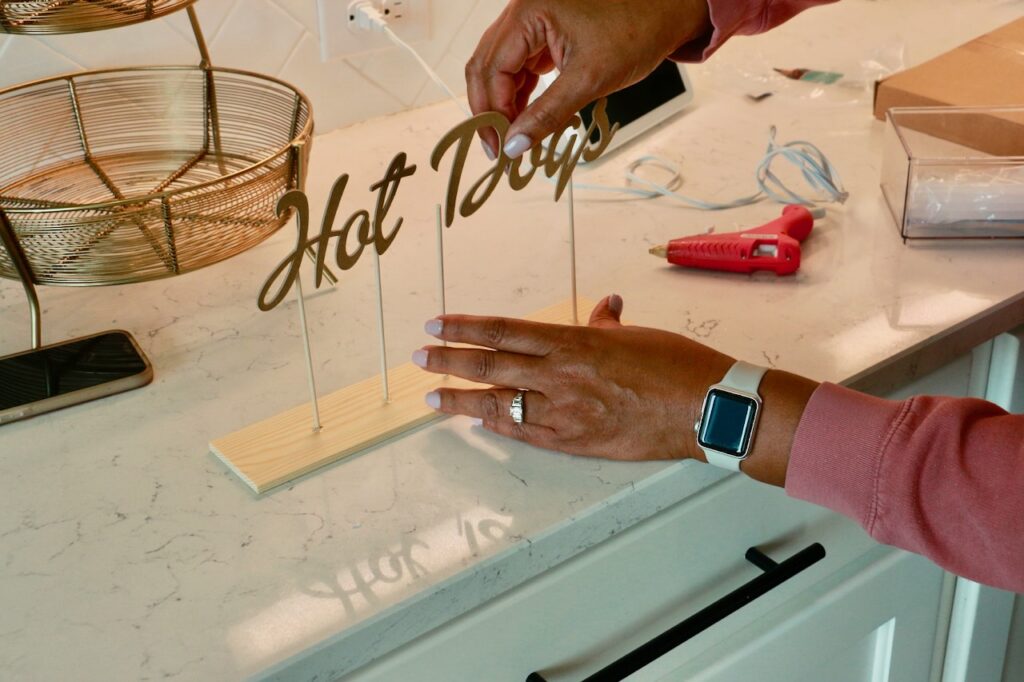
- Decorate
Decorate your sign using paint, glitter, stickers, or whatever else you have in your craft supplies! Be creative. Maybe use your Cricut to cut out additional designs to attach to your board, or use mixed media techniques to spice things up.
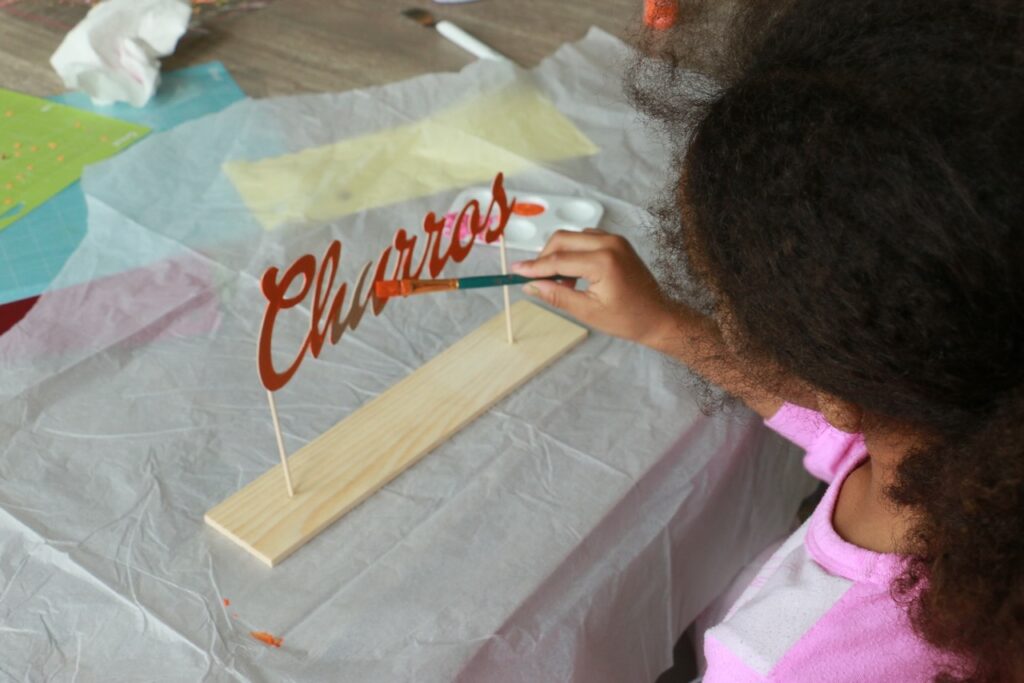
Materials Needed:
Find the supplies here:
- Cricut or other SVG cutting machine
- Cricut Knife Blade
- Strong Grip Mat
- Cricut Chipboard 1 ½ mm
- Masking Tape
- Wood for Stand (I used utility wood 2 ½” in x 12 in x ¼” inch)
- Small Wooden Dowels (I used ⅛” x 12”)
- Hot Glue Gun W/ Glue
- Drill W/ Drill Bit (⅛”)
- Paint
- Dolly Font
I'D LOVE TO HEAR FROM YOU!