MENU
HEY GUYS! WHAT'S UP?
I’m A BEAUTY + LIFESTYLE CONTENT CREATOR, WITH OVER 10 YEARS IN THIS INDUSTRY, known for MY transparency, relatability, & slightly sarcastic sense of humor.
340K
FOLLOWERS
FOLLOW THE JOURNEY OF PERFECTING MY DREAM HOME!
@RAVENSDREAMHOME
JOIN THE
SQUAD
BE THE FIRST TO GET THE DEETS ON:
LATEST VIDEOS
BLOG POSTS
SHOP FAVORITES
NEW PODCAST!
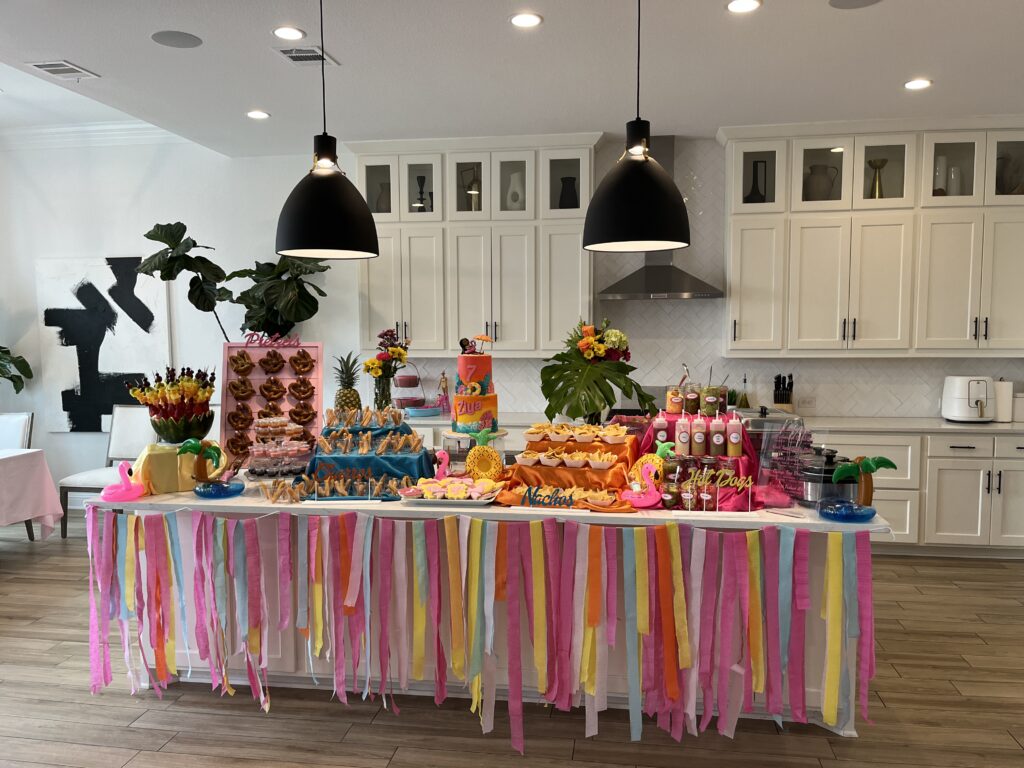
For my daughter’s Malibu Barbie Pool Party, I decided that the menu should mimic the food available from a vendor on the beach. We served a variety of snacks, including hotdogs, nachos, churros, pretzels, decorated cookies, and a cake!

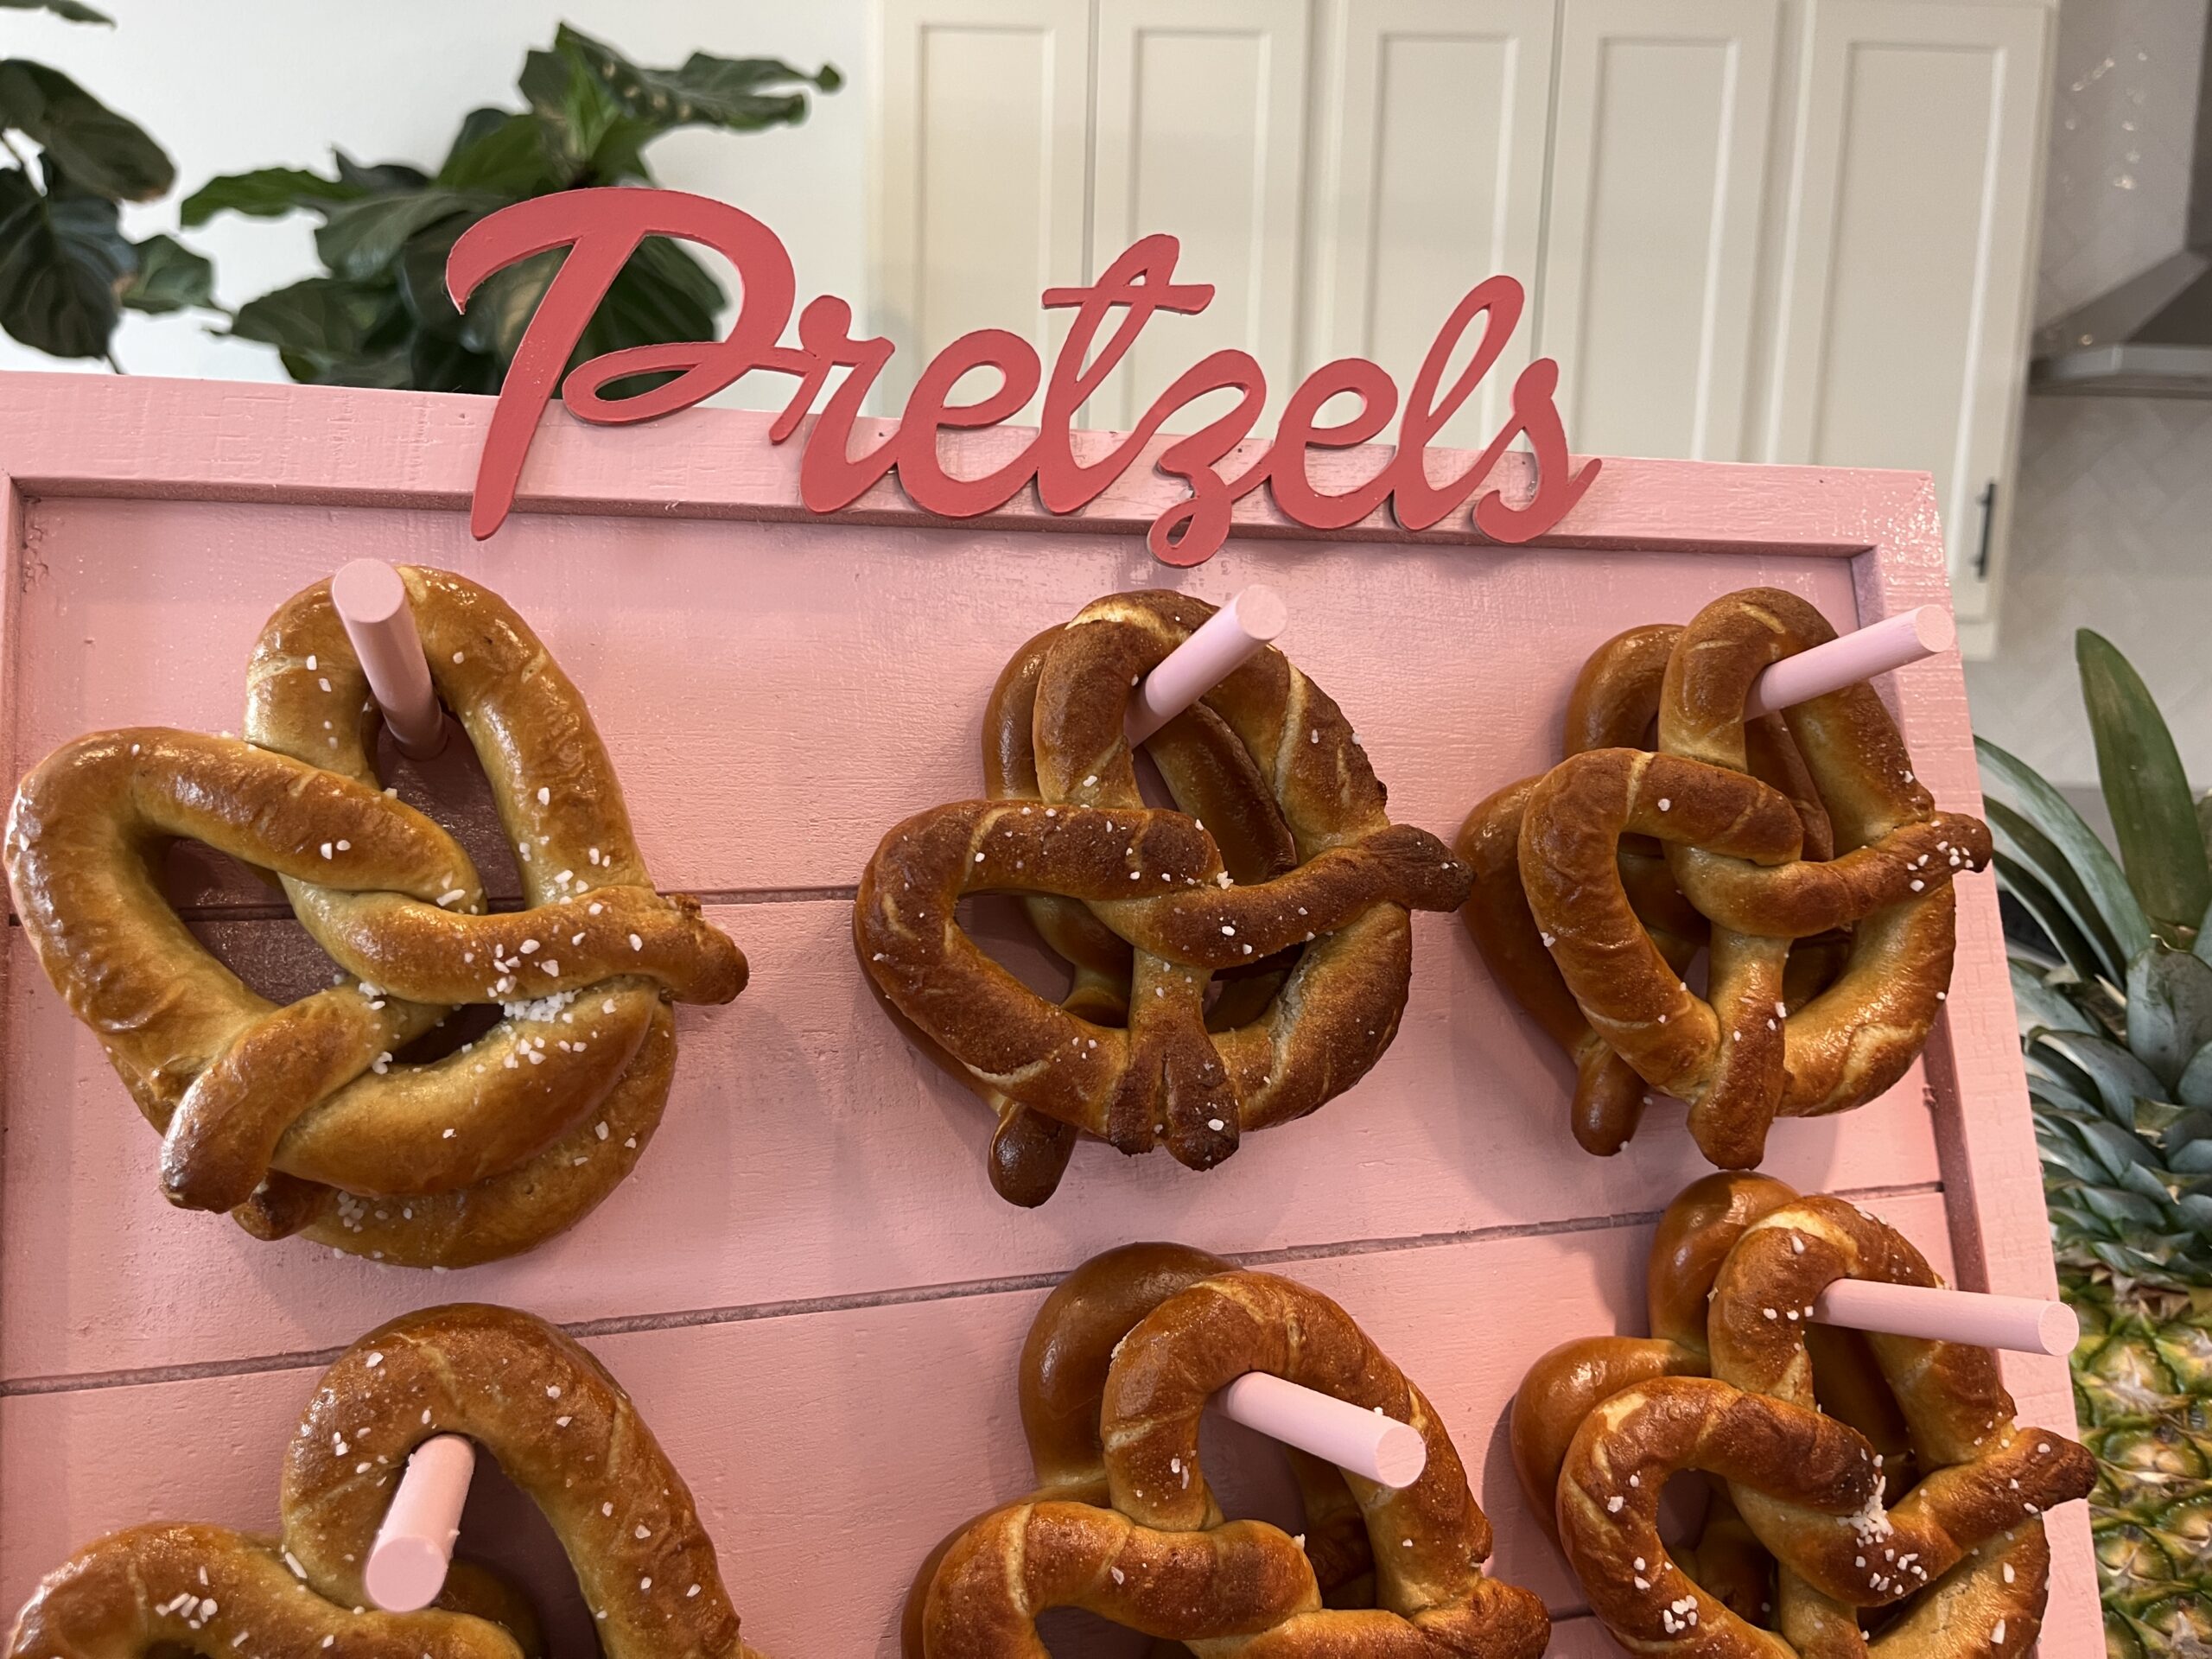
The staging of the refreshment table is a major key to a cute party, so once I decided on serving pretzels, I went on the hunt for a unique way to serve them to my guests. So, when I saw THIS donut/pretzel board, I knew exactly what I had to do… Make my own! Here’s how you can make yours too.
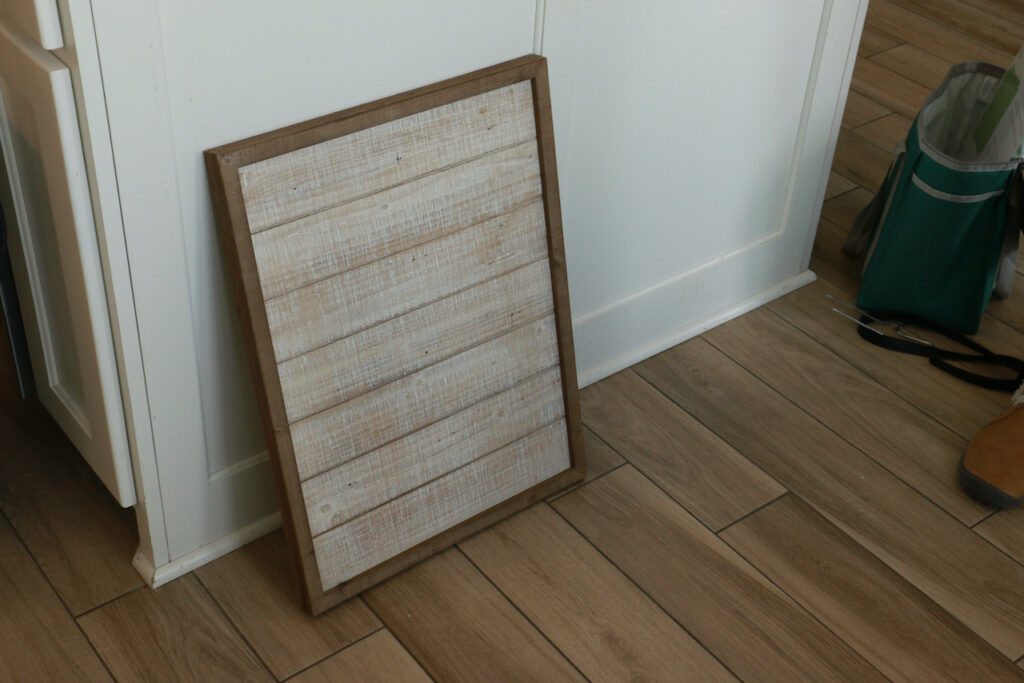
- Find a Board
First you’re going to want to find a board big enough to display several rows and columns of pretzels. I already had this board in my expansive decor stash, but you can find one from a local thrift or hobby store; Just make sure to give it a good scrub-down once you get home.

- Make Your Mark
To ensure each pretzel can hang-ten without bumping into their neighbors, you’ll want to calculate how many pretzels comfortably fit on your board. Then, using your ruler and pencil, evenly mark your dowel placement. Keep in mind, each dowel can hold several pretzels; Your total pretzel storage will be about 2-3x the number of dowels.
- Drill Holes
Using your drill, drill holes through each mark you made on your board. Go slow and steady here; Unfortunately, you can’t undo a whole hole!
- Cut ‘Er Down
Your store-bought dowels will likely be a little longer than needed. I used my handsaw to cut the dowels down to 4”, feel free to cut them to whatever length works for you. However, using longer dowels and staging more pretzels may compromise the integrity of your board and your dowels- That is, it might fall over or break!
- Place and Secure
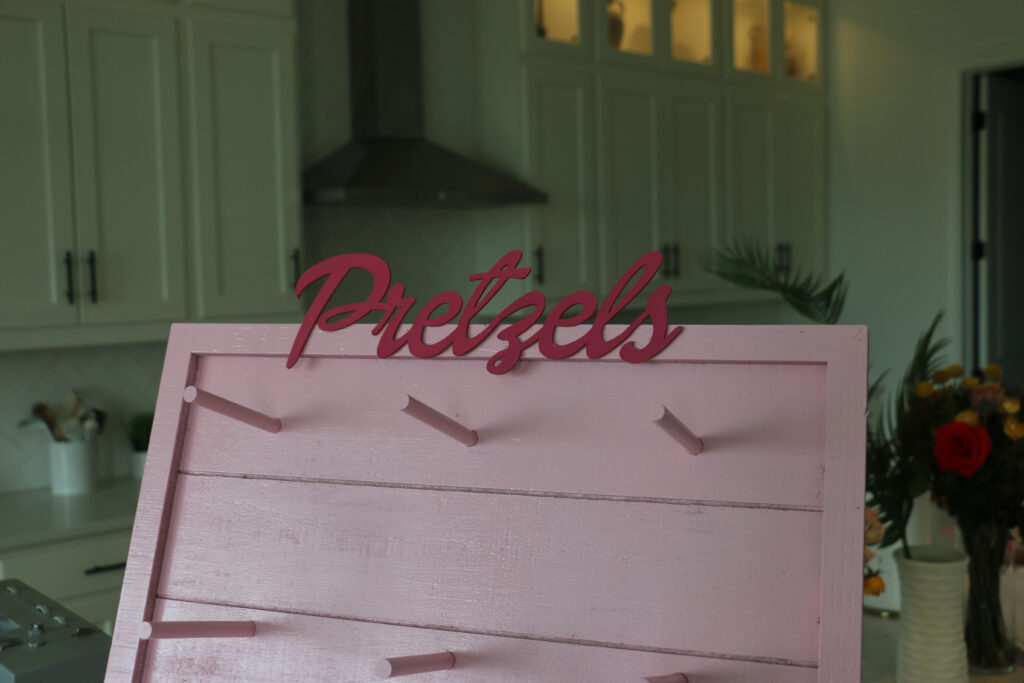
Now that your dowels are the correct size, place a dowel in each hole. With your board standing up, use your hot glue gun to secure the dowels to the backside of the board. This way, the front of the board will look cleaner without any hot-glue residue.
- Decorate
You might decide that your board looks pretty good after securing the dowels to the back of the board. And you’re right, it probably does! But it could look even better. We painted our board light pink with a can of spray paint. It took several coats for an even finish. For food safety, we also applied a top coat of Shellac. Then we added a chipboard sign to the top of the board- Made DIY with our Cricut.

Materials Needed
- Wooden Board
- Wooden Dowels (1/2”)
- Ruler
- Saw
- Drill W/ Drill Bit (1/2”) (Use a drill bit that matches the size of your dowels.)
- Hot Glue Gun W/ Glue Sticks
- Paint
- Shellac/Food Safe Top-Coat
- Sign (Optional)

I'D LOVE TO HEAR FROM YOU!